


Description
This product is intended for military-historical reenactment (immersive stydy of history); for creating costumes for theatrical and film, video plays condemning Nazism and fascism; as well as for exhibiting in museums of military history. This product is not propaganda of ideas and criminals convicted by an International Military Tribunal, and should not be used for such a purpose! The photos have been edited in accordance with the requirements of the law.
We offer high-quality copies of original decals made to order for the Replika store. These copies are an independent development, not a reprint from other copies. Based on the original samples, we have developed a computer model. It was scrupulously worked out: the thickness of the frame, the dimensions and the slopes of the parts were carefully checked. Decals have the right proportions and perfect symmetry. Decals were printed on professional equipment, so that printing conveys the smallest details.
The 1st and 2nd models of helmet shields are available.
- The first model: thin black edging, sharp-angled shape of the shield. Colors: black, red, white.
- The second model: a thicker contour than the first model, a smoother shape of the flap. Colors: black, red, white.
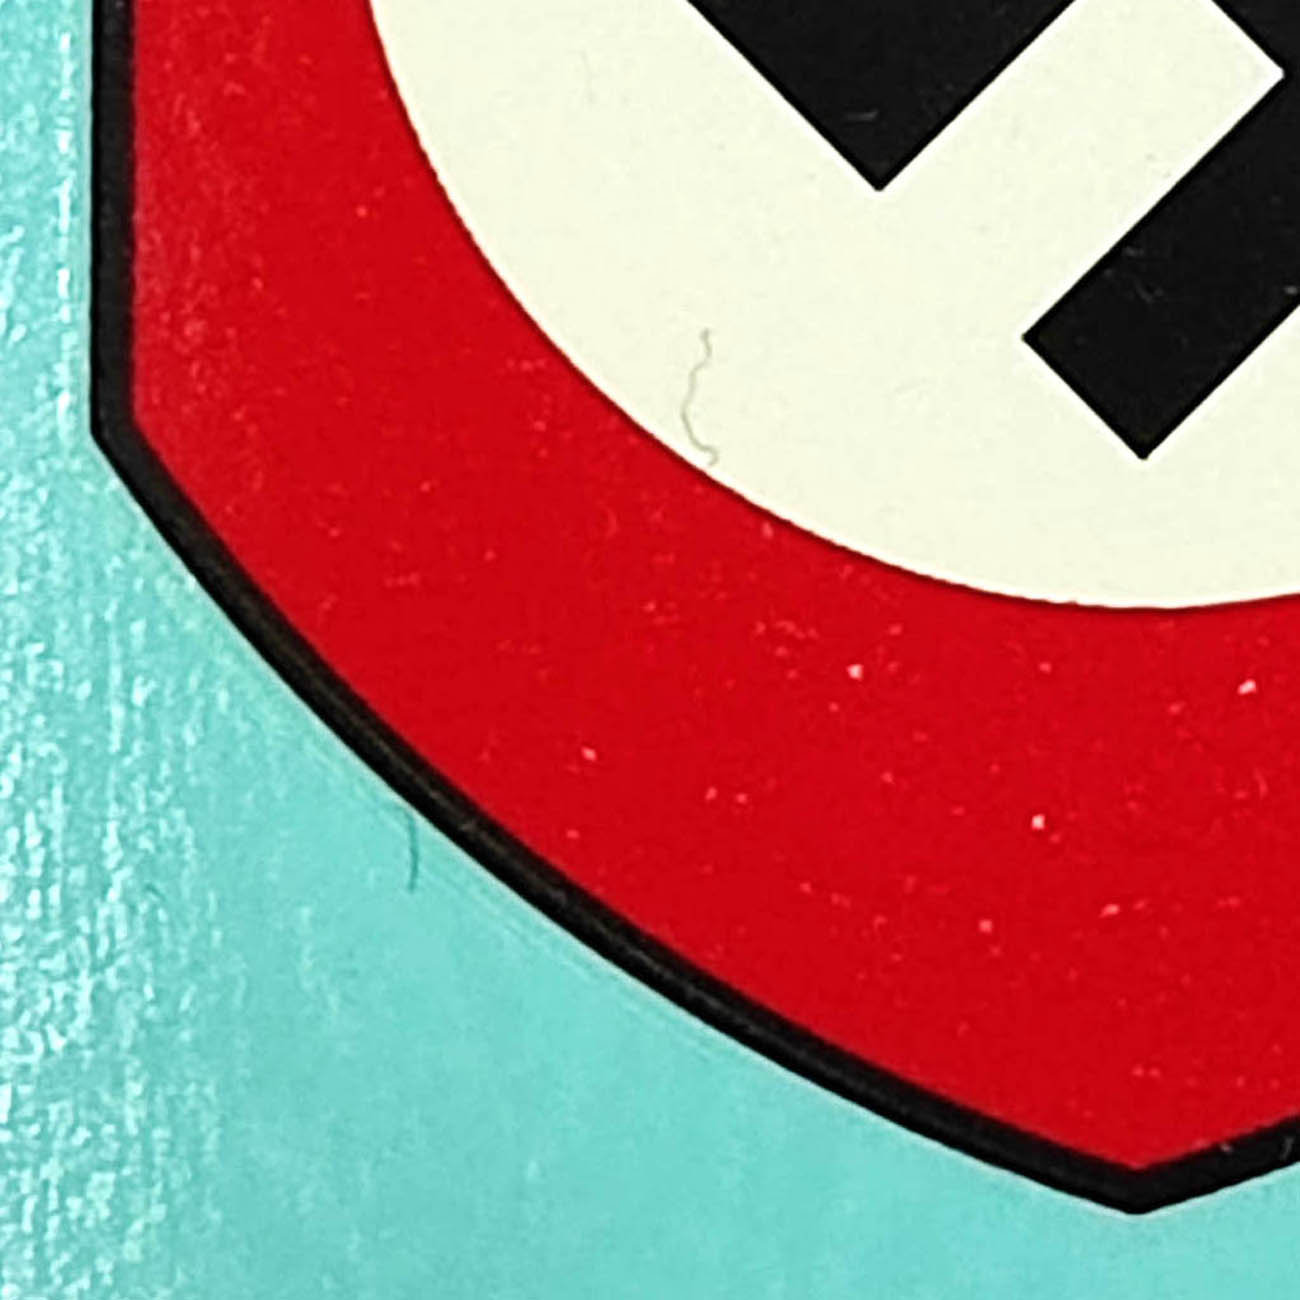
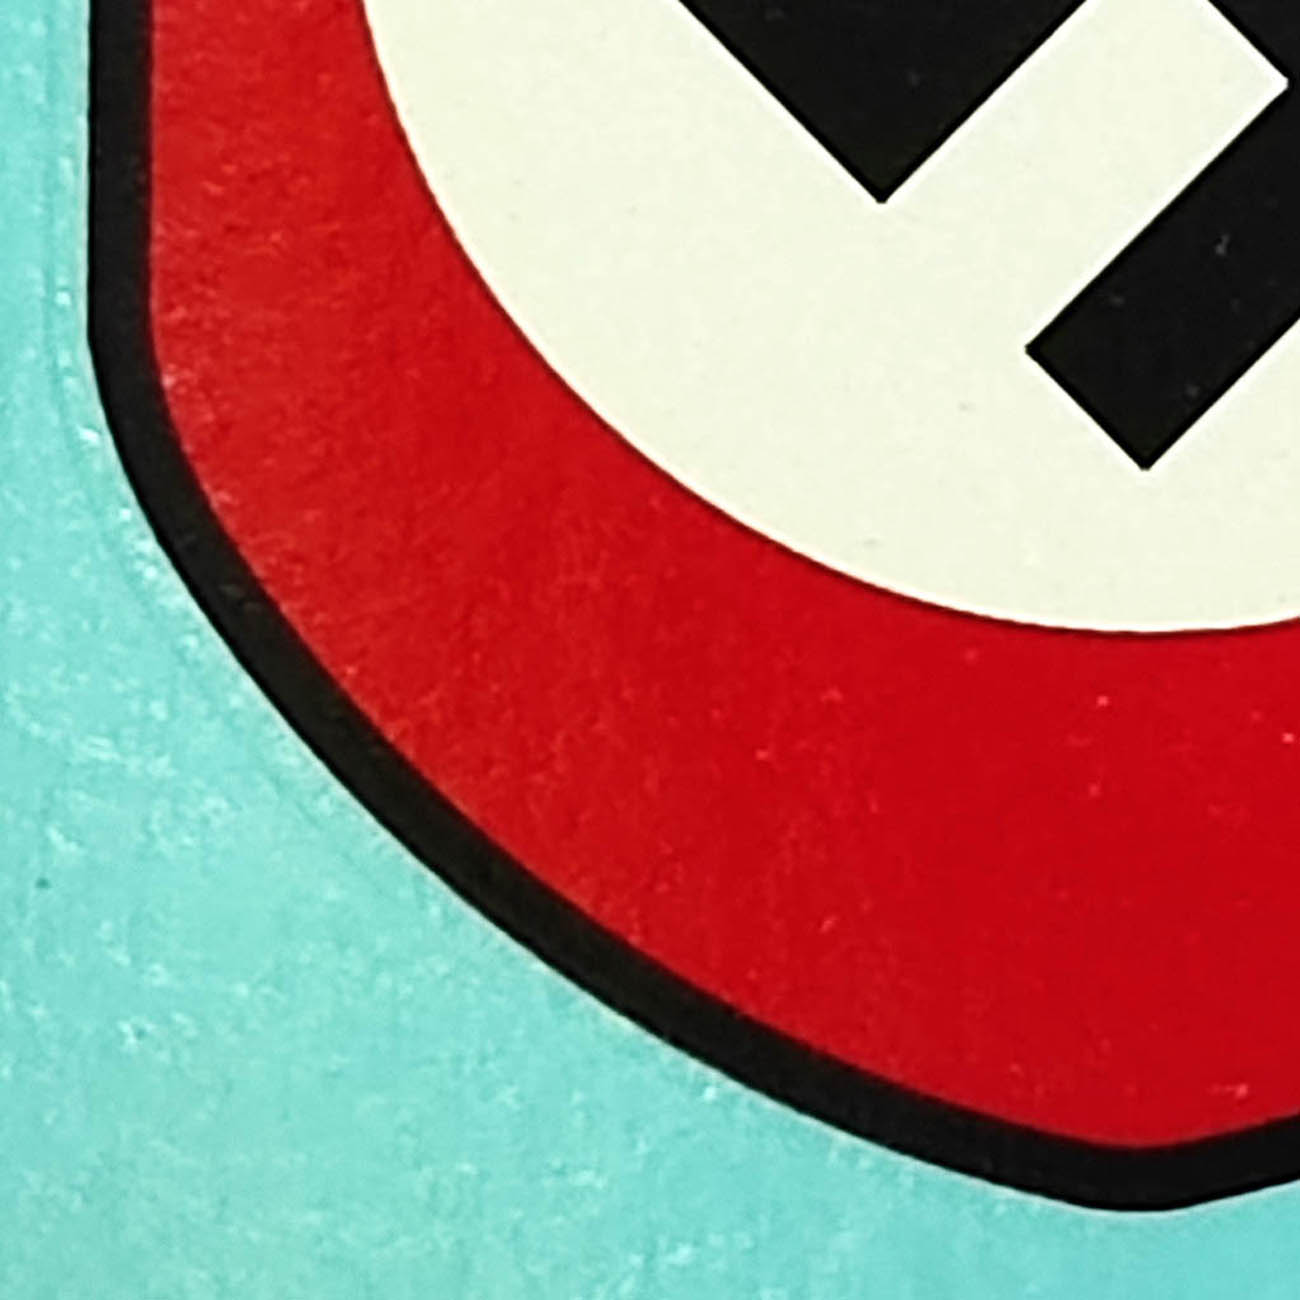
On the left is the shield of the 1st model (sharper contour of details), on the right is the shield of the 2nd model (smooth contours and thick outline).
The price is for 1 (one) the shield, not for the kit. You can buy one shield or form a set as you like.
To see additional photos please follow the link.
How to install the decal?
Put the piece of paper with the image (as it is, you do not need to cut anything) in warm water for 30-60 seconds. If there are advertising elements on the decal (logo or frame), they will be easily removed (with your fingers) when the substrate gets wet. After that, you need to put the decal on the surface of the helmet and, holding the drawing with your finger, pull the paper base out from under it. Set the drawing evenly, wetting it with water if it sticks. You can outline in advance with a pencil on the surface of the helmet, where the edges of the drawing should fall. Then remove the water from under the drawing with a rag or toilet paper, holding the image with your fingers so as not to move it.
How to fix the decal?
By itself, the decal holds perfectly and does not require fixing. However, if you are going to wear a helmet for reconstruction and wet it in the rain, the decal should be additionally fixed.
1) A well-dried image can be varnished, having previously masked the paint areas around the decal with masking tape. The varnish is sold in cans in stores for artists or motorists. The varnish over the decals on the original helmets was usually shiny and covered the area of the decal plus 1-2 mm from the edge.
2) Another method is called "baking". It may not give a good result the first time (the decal may swell if there was air or microdrops of water under it), but with a successful result, the decal holds so firmly that it can only be removed together with the paint. It literally melts into the paint and becomes one with it. To "bake" the decal, you need to heat the helmet in the oven so that it is not pleasant to touch it with your hand from the heat, but not more, so as not to burn the paint. Then turn off the heating and let the helmet cool down.
Historical reference.
Both models were created in the mid-1930s. There is an opinion that the second model has been present on helmets since 1939. It is not uncommon for the helmet to have a shield of the first model on the right, and the second model on the left, and vice versa. After all, one company was engaged in printing decals, and another was engaged in making helmets. And those who wore these helmets simply saw the symbols of the party and the SS.
Decals in the SS were used more willingly than in the Wehrmacht. M42 helmets is often found with the right decal of the 1st or 2nd model.


